In 2018 I challenged myself to paint a dog. I had never done an animal portrait before. This ended up creating a new hobby and a small side gig. What could be better than doggos, art, and money?
Process:
The first, and most important, step in a successful pet portrait is choosing a good set of reference photos. Without a good reference photo selection, I will not take the commission.
Next, I load the image into Corel Painter. (I also have used Adobe Photoshop and other applications. I can adapt between them, but found I prefer Painter for the animal portraits. I prefer Clip Studio Paint for human portraits.)
I LOVE having the ability to have a set of reference images to work from. I can use them to ensure proper placement of the nose, eyes, ears, and other distinguishing features that turn the piece from a generic dog to a specific dog.
Using the reference as a guide I end up with something like this:
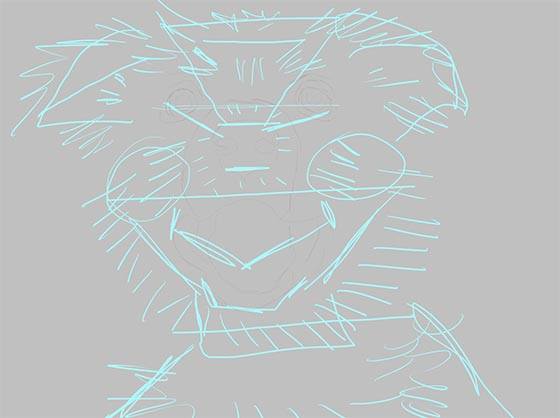
It may not look like much, but this guide is very helpful for the next steps.

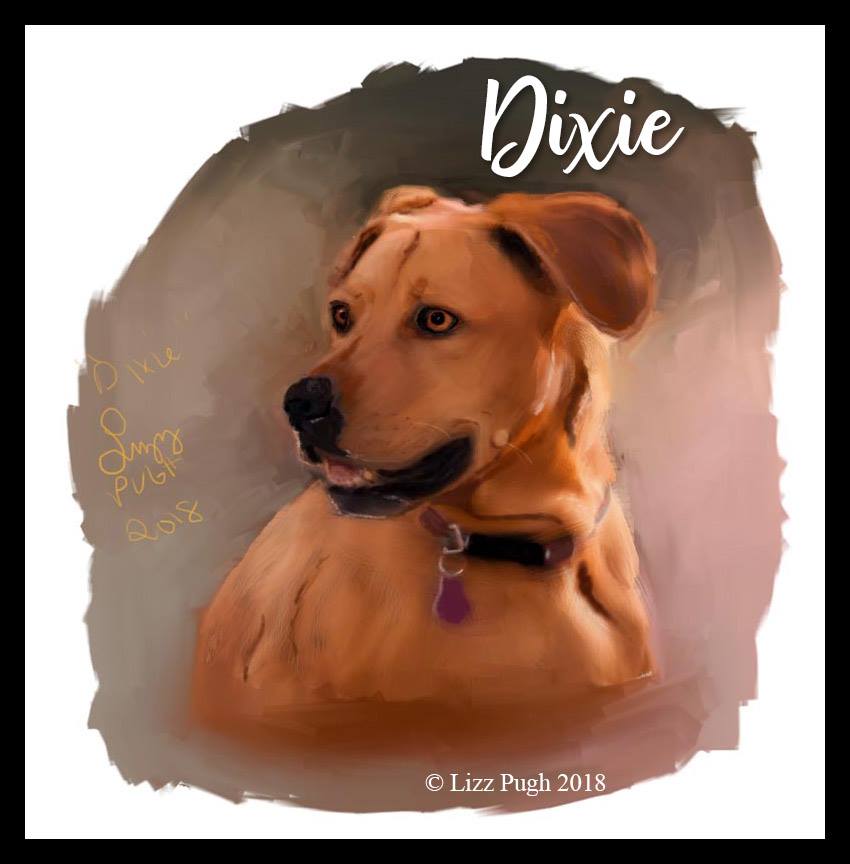
I have roughly (ruff-ley?) blocked in the colors for the fur that I will paint in later.
Next, I developed the eyes, tongue, and nose a bit more and then put a background color behind the dog. You’ll see just how ugly this gets in a moment.

I have seen many artists give up at this point. The ugly middle point. I have learned to enjoy seeing artwork transform itself throughout the process.
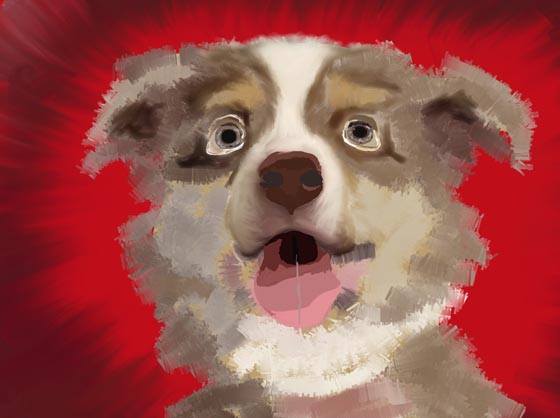
That color blocking is now working in my favor as I start to focus on the fur.
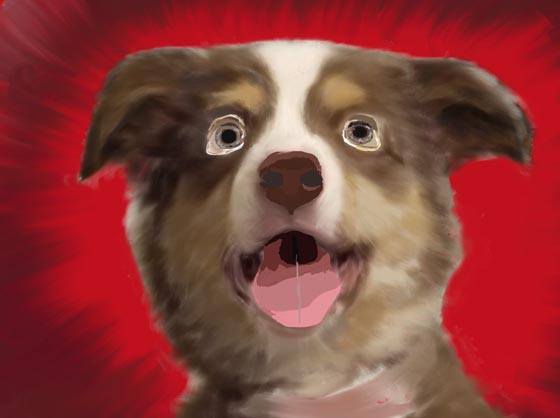
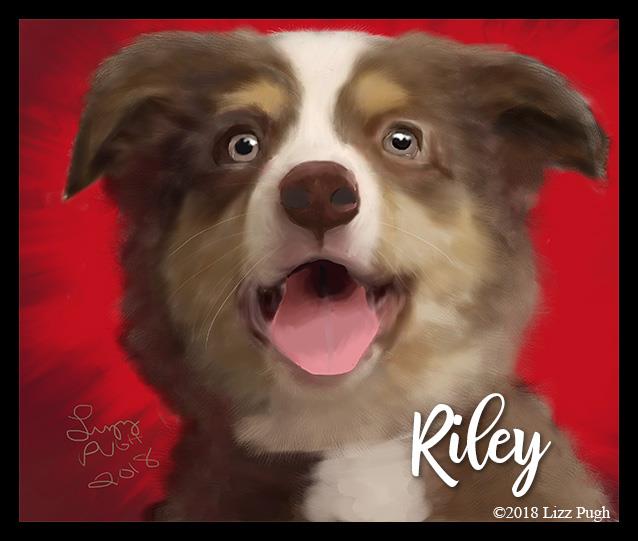
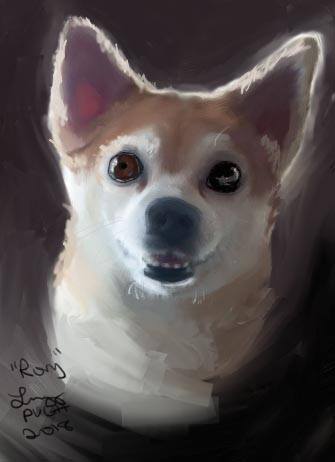
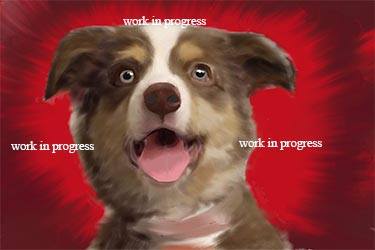
This is the teaser image that I shared with Riley’s owner. I had to make sure I marked it work in progress to discourage early posting and sharing. Once the eyes have some life in them people get very excited.

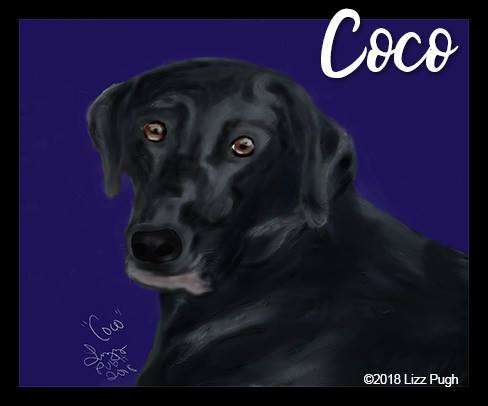
Viola! The final social media image. The client also received a digital file without watermarks for printing.